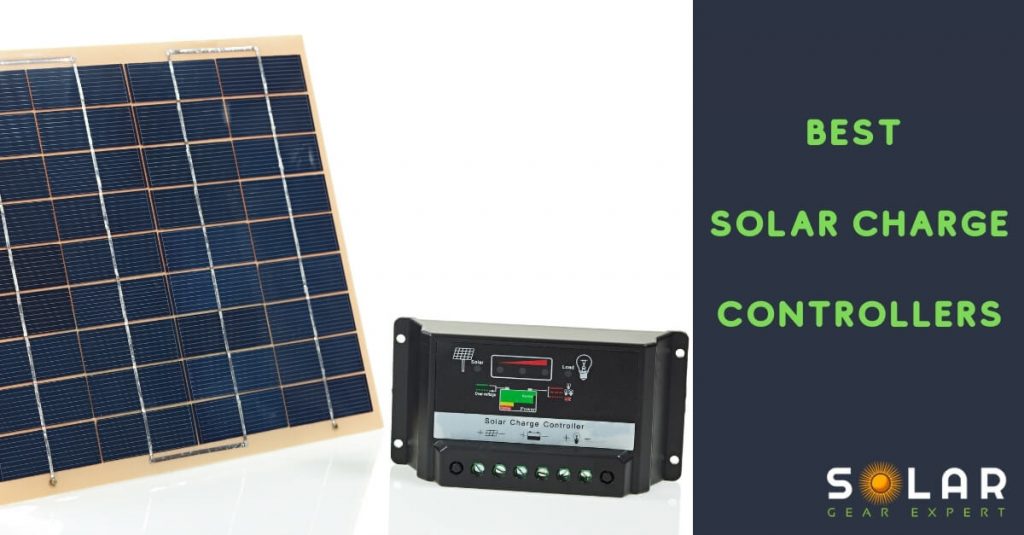
Ensuring that your batteries have a long life is what every buyer wishes. However, the only way this wish can come true is if you go the extra mile of purchasing a solar charge controller.
For most folks, buying one isn’t the issue but how to select the best solar charge controller is where things get tough.
This is why we have taken the time to prepare this post. Our aim is to help you get the best solar charge controller for your solar panel. We will take you through how to select solar charge controllers as well as let you in on the different types of charge controllers.
If you are completely clueless about solar charge controllers, let’s start by looking at what they are so that you understand how to select one.
What is a Solar Charge Controller?
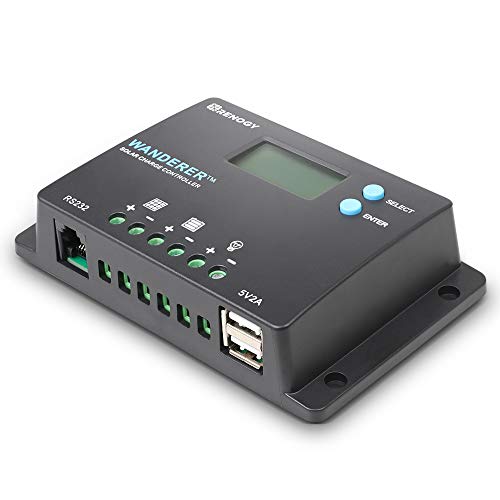
A solar charge controller, also known as a solar charge regulator, regulates the charge by controlling the battery’s current and voltage accurately. It insulates the battery enhancing Photovoltaic System Efficiency life span.
Solar charge controllers are designed to automatically disconnect the battery load to prevent overcharging and discharging. They also prevent the currents from reversing, especially at night.
In addition, they detect and reflect the level at which the battery has charged.
Types of Solar Charge Controller
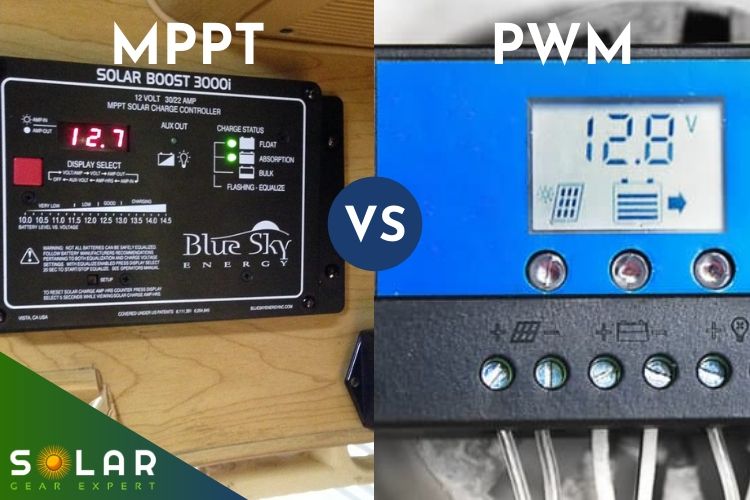
Solar charge controllers are available in three technologies – PWM, MPPT, and Simple 1 or 2 stage controllers. Let’s look at how each works.
Maximum Power Point Tracking (MPPT)
Guessing from the name, this technology is built for larger systems where the solar panel’s voltage is significantly higher. They have the capability to extract all the power that is in the panels. It is for this reason that MPPT charge controllers are quite expensive. However, if you don’t mind the cost, you are better off with this technology if you have a larger system as it handles high voltage (30% more). Similarly, it produces a maximum voltage when subjected to the PV module, making it cost-effective.
Maximum power point tracking charge controllers are also power-efficient, recording an efficiency of close to 98%. They supply power to the DC load and can store energy in climates above 75 degrees and below 45 degrees.
Pulse Width Modulation (PWM)
This type of charge controller refers to a fuse that connects the solar array to the battery. Essentially, it facilitates lower power output, working inversely with the outside temperature. It also decreases the voltage of a solar array being released to the battery. This is mainly a process of switching the power control device, aiming to produce constant energy.
Pulse width modulation is ideal when you have smaller systems to operate or where its services are not critical, for instance, when used in trickle charging. It is also ideal when being used in solar panels whose maximum voltage does not exceed 18V.
Aside from regulating voltage and temperature in solar systems, PWM also adjusts battery aging automatically as well as increasing battery charge acceptance.
Simple 1 or 2 Stage Charge Controller
This is the simplest type of charge regulators and the most reliable for most folks as they do not have much breakage. This is because they have the least number of components compared to the others.
This type consists of two controls – ON and OFF and works by closing off the circuit once the set high-voltage limit has been reached. Similarly, when the set low-voltage limit has been achieved, it opens up the circuit to allow charging to resume.
Compared to PWM and MPPT, this simple 1 or 2 stage controller is the cheapest and is mostly found on old solar panel systems.
Each of these types of solar charge controllers works differently. The PWM serves by allowing too much current to flow, and then regulate the same upon obtaining the necessary voltage. It then controls the same when it reaches constant, insulating it from being overcharged. On the other hand, the MTTP works in a manner that it would convert additional voltage, implying that more energy is available for the solar panel while the simple 1 or 2 stage controller works just by connecting and disconnecting when the preset limits are achieved.
How to Select Solar Charge Controller

Selecting the best solar charge controller is definitely a hard task especially for first-time buyers or those who’ve fallen victim to a malfunctioning device before. Here is what to look for when considering an off-grid solar charge controller:
1. Voltage Configuration
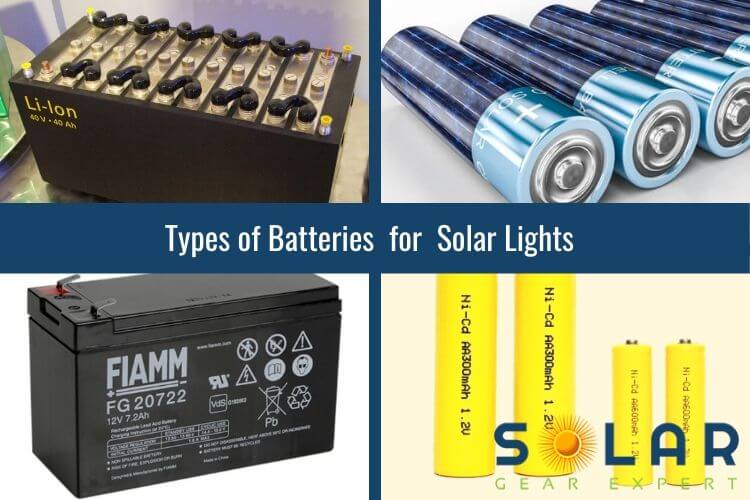
Compatibility with the system voltage is essential. Voltage is configured at 12, 24, and 48; thus, a 12V battery needs a solar charge controller whose energy is 12 volts. Notably, some controllers have their voltage specified and cannot be altered or substituted. However, if you feel like there is a need to adjust the voltage, you can look for a charge controller that can automatically detect the voltage required and switch to the precise one.
2. Current Capacity
An ideal charge controller is the one that handles the solar panel’s maximum output current. Primarily, the PV current (short circuit current) produced should be lower than that of the charge controller. While at this, I would suggest that you also consider the safety factor.
For instance, a 10amp charge controller would be preferable if you have an LSI solar panel that has 7.89 amp which produces additional amperage at 25%, which could be a threat to safety. Therefore, a 10amp charge control is a paramount consideration.
3. Sophisticated Microprocessor
As such, the microprocessor can automatically detect and adjust voltage necessarily. A microprocessor also discontinues any high current when the voltage does not correspond to the threshold.
4. Buck Regulator
To harness the solar panel’s system and enable it to process the required voltage. It also regulates the amount of current flowing in to ensure it is standard, flowing into the load.
5. Transformer
This prevents the system from being damaged in case a fault results from polarity. A transformer insulates the panel from high currents when it is transferred at high speed to prevent the battery from rapidly discharging and overcharging as either may be inevitable.
Besides considering the above features, you can also look for the following for more effortless and swift operations:
- A device that has multiple solar chargers: By this, you can wire several batteries to the control charger, using the same voltage without altering the current flow. This idea is advantageous as it is cost-effective and will save you time used on charging different appliances.
- A device paired with the DC-DC charger: If you opt for this, then it would imply that you can automatically switch between solar charging and electric charging. Either way, you can be assured of an efficient service. For this, your viable option is MTTP, as it has the feature enabled.
Common Mistakes during Charge Controller Installation

The wrong installation of charge controllers might pose a threat to safety as well as damage your system. So how do you prevent this from happening? By going through these commonly made mistakes during charge controller installation to learn how not to fall victim.
1. Connecting the Loads Inappropriately
The appropriate way is connecting DC loads to the charge controller’s output. As for the AC loads, connect it to the inverter’s output.
2. Purchasing the Less Expensive Control Chargers
While you may consider this as the most logical solution, it is counter-effective as you may spend a lot on installing and even maintaining the same. You will have to pay more in maintaining it or otherwise be forced to replace it.
3. Connecting Low Voltage Appliances Indirectly
You are supposed to connect them directly. For instance, a refrigerator has to be connected directly to the charge controller battery.
4. Not using a Fuse on Large DC Systems
A fuse is essential on the battery’s positive terminal when operating large DC systems.
5. Mounting the Charge Controller away from the Battery
The battery voltage is vital for effective connectivity, and any spillage should be avoided at all costs.
6. Connecting Devices Directly to the Battery
This is a very costly mistake that could cause an explosion. All devices have to be connected to the DC terminal, thus preventing the cells from excessive discharging.
7. Wrongly Connecting with the Inverter
The inverter needs to be connected directly to the charge controller’s DC terminal. Follow the sequence provided by the manufacturer.
8. Interchanging Solar Panel Systems
You can use a different voltage system with different wattage. You are supposed to use the exact voltage prescribed by the manufacturer to operate the system. If this is not adhered to, you are bound to experience the device malfunctioning.
9. Inappropriate Wiring of the Photovoltaic Solar Panels
Each solar panel is supposed to configure and connect in a series that corresponds to the other.
Some issues can be avoided by following the necessary installation steps of the charge controller. You only need to be sure that you are doing the right thing, otherwise, you will be dealing with the same problems you had in the past.
Final Thoughts
As you can see, it is more beneficial to have a solar charge controller. I hope you have learned a great deal on how to select solar charge controllers and you have already decided on which solar charge controller to pick for your system.
Last update on 2021-11-23 at 23:14 / Affiliate links / Images from Amazon Product Advertising API